
The Best Adobe Premiere Pro Tips: Mastering Video Editing in 2025
In the world of video editing, Adobe Premiere Pro remains a must-have for professionals and passionate amateurs alike. In 2025, with the advent of new features and the rise of other software like Final Cut Pro or DaVinci Resolve, it’s more essential than ever to know the tricks to get the most out of this software. Whether you’re a beginner or an expert, better organizing your media, mastering shortcuts, or optimizing your effects—all these techniques can transform a mundane project into a captivating work. In this article, you’ll discover concrete strategies, practical tools, and valuable advice to take your editing to the next level. Careful preparation, combined with an in-depth knowledge of the features, remains the key to a professional finish. Ready to explore all these essential tips to become a true video editing pro? Then follow the guide!
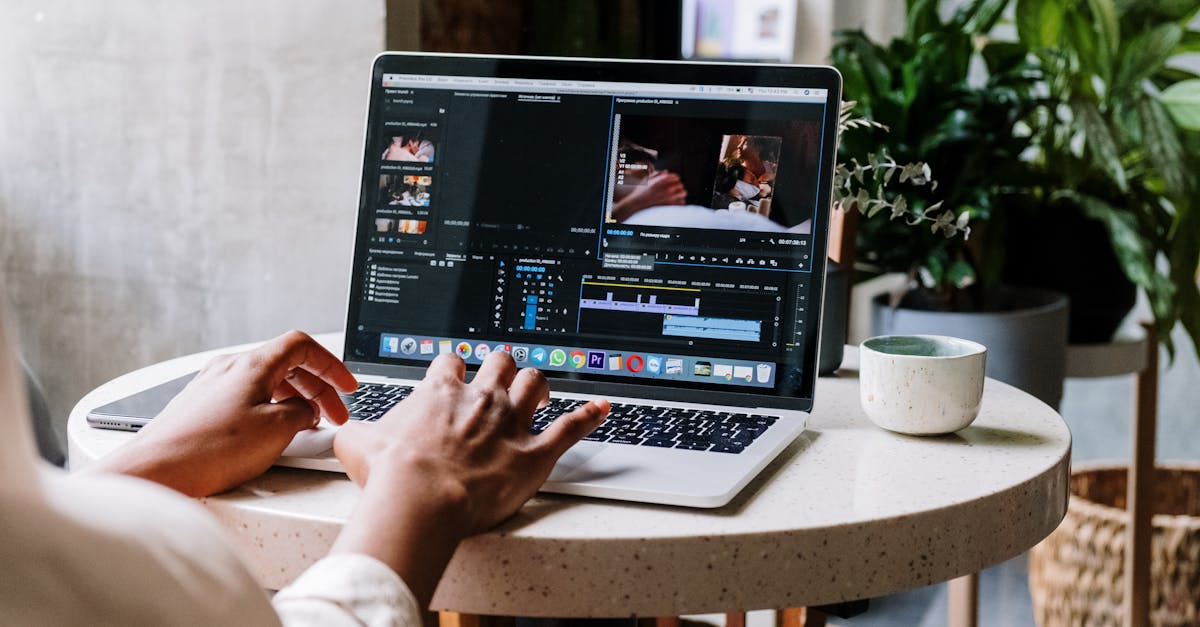
Why organizing your media is the crucial first step in Adobe Premiere Pro
Imagine spending hours editing a video without a clear organization of its files. The risk of errors, confusion, and even wasted time skyrockets. In 2025, this step remains fundamental to ensuring fluidity and efficiency in editing. The key lies in upstream preparation. It all starts with solid structuring of your media. Creating separate folders for videos, audio, images, and graphics not only allows you to capitalize on intuitive logic but also allows you to quickly find what you’re looking for. Bins in Adobe Premiere Pro play an essential role: they’re used to organize all your clips by scene, type, or shooting date. Meticulous organization avoids hours of searching, which could compromise the very creativity of the edit. Furthermore, creating separate sequences for each scene or section of the project facilitates overall management, especially when working on complex or large projects. All of this serves to make your workflow smoother and limit interruptions that tire and frustrate. Ultimately, preparation is creativity’s best ally and ensures the consistency of your final result.

| Key Steps to Organizing Your Media | Importance | Practical Tip |
|---|---|---|
| Create logical folders 📂 | Facilitates searching and archiving | Name them according to their content: “Videos”, “Audios”, etc. |
| Use bins in Premiere 🗃️ | Efficiently organize your clips | Organize them by scene or type |
| Create separate sequences 🎬 | Better manage complex projects | One sequence per scene or content type |
Mastering Shortcuts: Speed at Your Fingertips
Have you already started editing and are looking to improve your efficiency? The best answer is undoubtedly mastering keyboard shortcuts. In 2025, they are more essential than ever to avoid stalling, especially when faced with tight deadlines or producing content in bulk. Adobe Premiere Pro offers a multitude of shortcuts for fundamental functions: cutting, selecting, moving, and adjusting the timeline. For example, the shortcut “C” activates the trim tool, while “V” returns to the selection tool. Speed in editing depends largely on your ability to master these commands by heart. But that’s not all: customizing shortcuts offers another advantage. By going to “Edit” > “Preferences” > “Keyboard Shortcuts,” you can assign keys to your favorite functions. This way, your workflow becomes perfectly adapted to the way you work. To remember these shortcuts, it’s helpful to create a cheat sheet to refer to regularly or to incorporate these commands into practice sessions. After a few days, they’ll become second nature, and you’ll save valuable time. To achieve complete mastery, don’t hesitate to consult tutorials like this link to learn how to optimize your workflow. Discover essential tips for mastering Adobe Premiere Pro. Improve your video editing skills with practical techniques and expert advice to optimize your workflow and create captivating videos. The fundamentals of basic editing: trimming, adjusting, and aligning

Basic Editing Tools
Function
| Tip | Razor (C) ✂️ | Trim clips quickly |
|---|---|---|
| Cut at just the right moment to avoid ruining a good scene | Ripple Edit (B) 🔄 | Adjust the length while moving the rest |
| Save time by avoiding manually moving each clip | Slip and Slide | Fine-tune the timing without changing the position |
| Use them for a flawless edit | Take full advantage of effects and transitions to enhance your video story | In 2025, effects and transitions in Adobe Premiere Pro offer a veritable range of possibilities to enrich your editing. However, their use must remain moderate and precise. Too many effects can be distracting, while when used correctly, they enhance the narrative. The first instinct is to use transitions—for example, fades or slides—to smooth out the transitions between two shots. Drag a transition between two clips and customize its duration or settings to achieve the desired effect. Customization via double-click is essential to harmonize with the video’s rhythm. As for preset effects, they allow you to correct or add a creative touch. Stabilization with “Warp Stabilizer,” for example, is very popular in 2025, while the motion blur effect can accentuate a dramatic atmosphere. The finesse also lies in the use of keyframes: by animating the position, opacity, or speed of an effect, you bring your creation to life. Keyframe animation is that little extra touch to refine a movement or reinforce an emotion. When we think about the end result, it’s about using these effects to support the story, not drown it out. So, how do you deploy these effects effectively? The answer lies in mastering their timing and subtlety. |
Effect Type
Purpose
| Tips for Use | Transitions (Fades, Wipes) 🌅 | Smooth the transition between two shots |
|---|---|---|
| Use sparingly, adjust the duration | Preset Effects 🎨 | Correct or enhance the video |
| Exploit the Premiere library, test the settings | Animation with Keyframes 🎥 | Create movements or gradual changes |
| Add keyframes for a natural look | Colorimetry and Color Grading: Bringing Harmony and Style to Your Videos | Daring to use careful colorimetry means first conveying a mood. In 2025, color grading in Adobe Premiere Pro has been further improved with the Lumetri panel, making color correction accessible even for beginners. The first step is to adjust the white balance for a neutral or creative look, depending on the desired atmosphere. Then, saturation or contrast can be boosted to make the colors vibrate, or, conversely, softened for a softer ambiance. The Lumetri Color panel offers a variety of tools like the RGB curve or rotoscoping for precise corrections. The key is to harmonize the entire video, especially when using multiple takes or different devices. To do this, it’s helpful to use scopes, like the vectorscope or the waveform, to ensure color consistency. Copying and pasting settings between similar clips is very effective for standardizing the palette. In short, good colorimetry will give your video that professional touch that will make it stand out in 2025, especially if you also master trends like the cinematic look or vintage style. |
Essential Elements of Color Correction
Goal
| Tip | White Balance ⚪⚫ | Achieve natural or artistic colors |
|---|---|---|
| Use the automatic tool or the color wheel | Saturation and Contrast 🎨☀️ | Make the scene more vivid or soft |
| Increase or decrease depending on the desired effect | RGB Curves and Scopes 📊 | Precise and consistent correction |
| Refer to visualizations for final adjustments | Advanced techniques for audio editing and multi-camera editing | A film is also a sound experience. In 2025, mastering audio in Premiere Pro becomes a real necessity to reinforce the emotional impact. Importing and organizing audio tracks, adjusting their volume, applying effects—all this must be done with finesse. Noise reduction or equalization improves quality, while reverb gives a sense of space. Automating volume with keyframes in the timeline allows you to balance dialogue, music, and sound effects. At the same time, multicam editing is becoming a powerful tool for live productions or multiple interviews. Precise synchronization of different cameras and seamless switching between angles are essential for a professional look. Setting up a multicam sequence also shares a key step: automating cuts in real time. The “Create Multicam Sequence” function facilitates this operation, notably by synchronizing through audio. In 2025, these techniques allow for total immersion in a video. Mastering sound and multiple angles is essential to satisfy a demanding audience. |
Key points of multicamera editing
Benefits
| Tip | Synchronization 🔄 | Perfect audio-video matching |
|---|---|---|
| Use the automatic or manual option | Real-time switching 🎥 | Simplifies complex editing |
| Use shortcuts to quickly change angles | Edit automation 🛠️ | Considerable time savings |
| Create a multicam sequence with automatic adjustments | Optimize your exports according to the platform for a perfect result | The last moment before broadcasting is export. And in 2025, with all the options offered by Premiere Pro, you have to choose carefully to ensure a high-quality output. Selecting the format, codec, and export preset depends primarily on the video’s destination. For example, for YouTube or social media, H.264 with a suitable bitrate is a safe bet. For TV broadcasts or archival copies, formats like ProRes or DNxHD ensure better quality. Compression also plays a role: a file that’s too large or poorly compressed results in a loss of quality or a long loading time. Creating export presets is a practical option to save time during repetitive editing. Store your preferred settings in just a few clicks in the export section. In short, knowing your formats, codecs, and precise settings allows you to quickly adapt the video to each platform while maintaining optimal quality. In 2025, export speed combined with visual quality will become a true success criterion. |
Main Export Formats
Use
| Benefits | H.264 🎥 | Web, social media |
|---|---|---|
| Good quality with reduced file size | ProRes or DNxHD 📁 | Editing, archiving |
| Maximum quality, large file size | Custom format 🔧 | Specific situations |
| Total control over output | Additional tools to perfect your Wondershare editing | In addition to Adobe Premiere Pro, other software programs are also available to enhance your production. These include Final Cut Pro, DaVinci Resolve, and Sony Vegas, which offer specific features: advanced color grading, special effects, audio correction, and a variety of export options. Some users combine these tools to take advantage of more advanced color grading algorithms with DaVinci Resolve, or more intuitive workflows with Filmora. Others opt for solutions like Camtasia for educational videos or Pinnacle Studio for simpler editing. Ultimately, the best strategy may be to master one core software program while developing some skills in others to meet specific needs. The diversity of tools, combined with in-depth knowledge, allows you to boost the final quality of your videos. Curious about tips for optimizing your arsenal? Check out this link to learn more. FAQ – Frequently Asked Questions about Adobe Premiere Pro tips in 2025 |
How can I quickly optimize my workflow in Premiere Pro?
By customizing your shortcuts, using export presets, and efficiently organizing your media, you can save valuable time. What are the essential effects you need to know? Stabilization, color correction, smooth transitions, and keyframe animations remain essential for enhancing your videos.
Which alternative software to Adobe Premiere Pro should you choose in 2025?
- DaVinci Resolve for color correction, Final Cut Pro for an optimized macOS interface, or Lightworks for fast and efficient use are popular choices depending on your specific needs. How do I master multicamera tools?
- By properly synchronizing your clips via audio, then using shortcuts to change angles, you simplify the process, even on complex projects. What’s the best method for exporting for social media?
- Choose H.264 format with platform-specific settings, checking file size and visual quality to ensure a smooth and professional broadcast.